Sarai recently did a series on her blog about streamlining your wardrobe by considering what your style is, or what you would LIKE it to be, and outlined steps you can take to get there. From the comments she got during and after the series, it sounded like a lot of us are floundering when it comes to our personal style, so I'm no exception. But I end up sewing so little for myself because I have had to take in so much sewing for others, just to help make ends meet. So, I end up lurking around local thrift shops, scouring for duds that I can spruce up, remake, refashion, tailor, or use for parts & fabric. And those pile up around me also, since I'm pretty tired by the end of my sewing day (4 hours most days, six if I can really push myself - check out the National Fibromyalgia Association website for details about why - it's too much to explain here). It's not that I ever run out of ideas - anyone who's haunted my Pinterest board about refashioning knows that, LOL - I just run out of steam. What little steam I have, I have to devote to the sewing that brings in income. Sigh.
I love helping out by taking in sewing, but I've given some really serious thought to backing off from that, because I miss - I REALLY miss - sewing for the creative outlet that it brings, whether that's sewing from scratch, or remaking something to make it my own (refashioning). I believe in reusing and repurposing things, and have done that for years. What I didn't realize is that those concepts are part of a broader philosophical notion known as wabi sabi. My favorite quotes from Wikipedia about it: "If an object or expression can bring about, within us, a sense of serene melancholy and a spiritual longing, then that object could be said to be wabi-sabi." (Juniper, Andrew, 2003. Wabi Sabi: The Japanese Art of Impermanence.) And, "Wabi-sabi nurtures all that is authentic by acknowledging three simple realitites: nothing lasts, nothing is finished, and nothing is perfect." (Powell, Richard, 2004. Wabi Sabi Simple.)
Those last three notions really sang to me. Nothing lasts. Nothing is finished. And nothing is perfect. Really sums up both why I love to sew for myself or create something of my own to offer the rest of the world, and why I love refashioning. And why I'd love to pursue both of those as an expression of myself (and hopefully, result in unique goods and/or clothing that others would be keen to purchase).
Sarai had a checklist on her post, offered as thinking prompts, that I have copied and put above my desk to help me pursue exactly WHAT I want to be saying, both to myself and to the world:
- Who am I?
- What am I like?
- How do I want others to see me?
- How can I express myself in a way that feels true and creative?
- Why can't I be different from everyone else?
- Why do I have to take myself so seriously?
I will be devoting some serious thinking time to pursue what my goals are for developing my personal style and the style I would like to present to others. In the meantime, I stole some time out of my work schedule to remake a top from the Assistance League (the AL).
Here's to being different from everyone else! :)
Here's to being different from everyone else! :)
 |
| I started with an XL knit top (on my larger dress form) that I snagged when the AL was having their 50% off sale. Beautiful fabric, and I loved the colors. I try to look for things that have enough fabric or working room in them to remake. If I can't fit a pattern into the top as it is, often I will cut it up to use in a color blocked shirt. The other thing to keep in mind when you go thrift-store-hopping: check the condition of the garment very carefully. Make sure there is no pilling, stretched out areas, discoloration, fading, stains, or holes. Unless you either want to incorporate that into your look, or you know you can cut around it or over dye it. Check out the Reigning Queen of Over Dyeing. |
 |
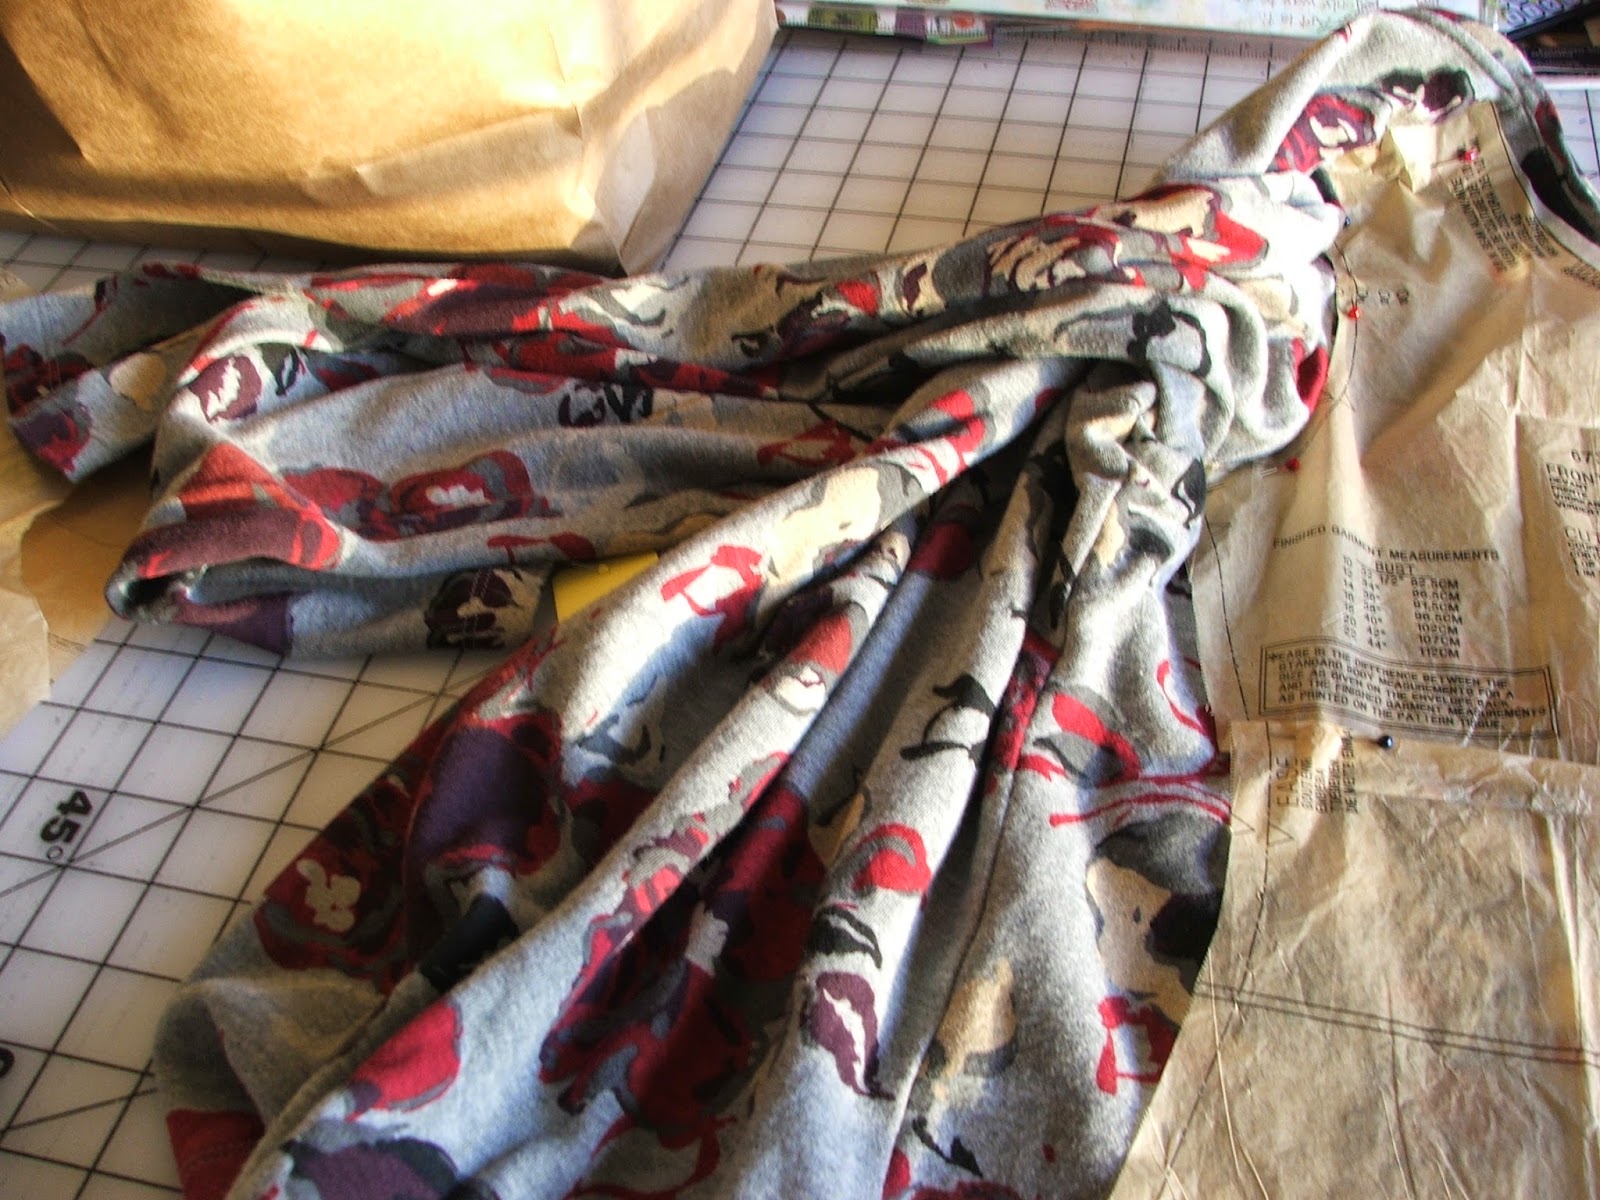
| See? It's like magic. Now I won't have to do so much work to have an all new shirt. |
 |
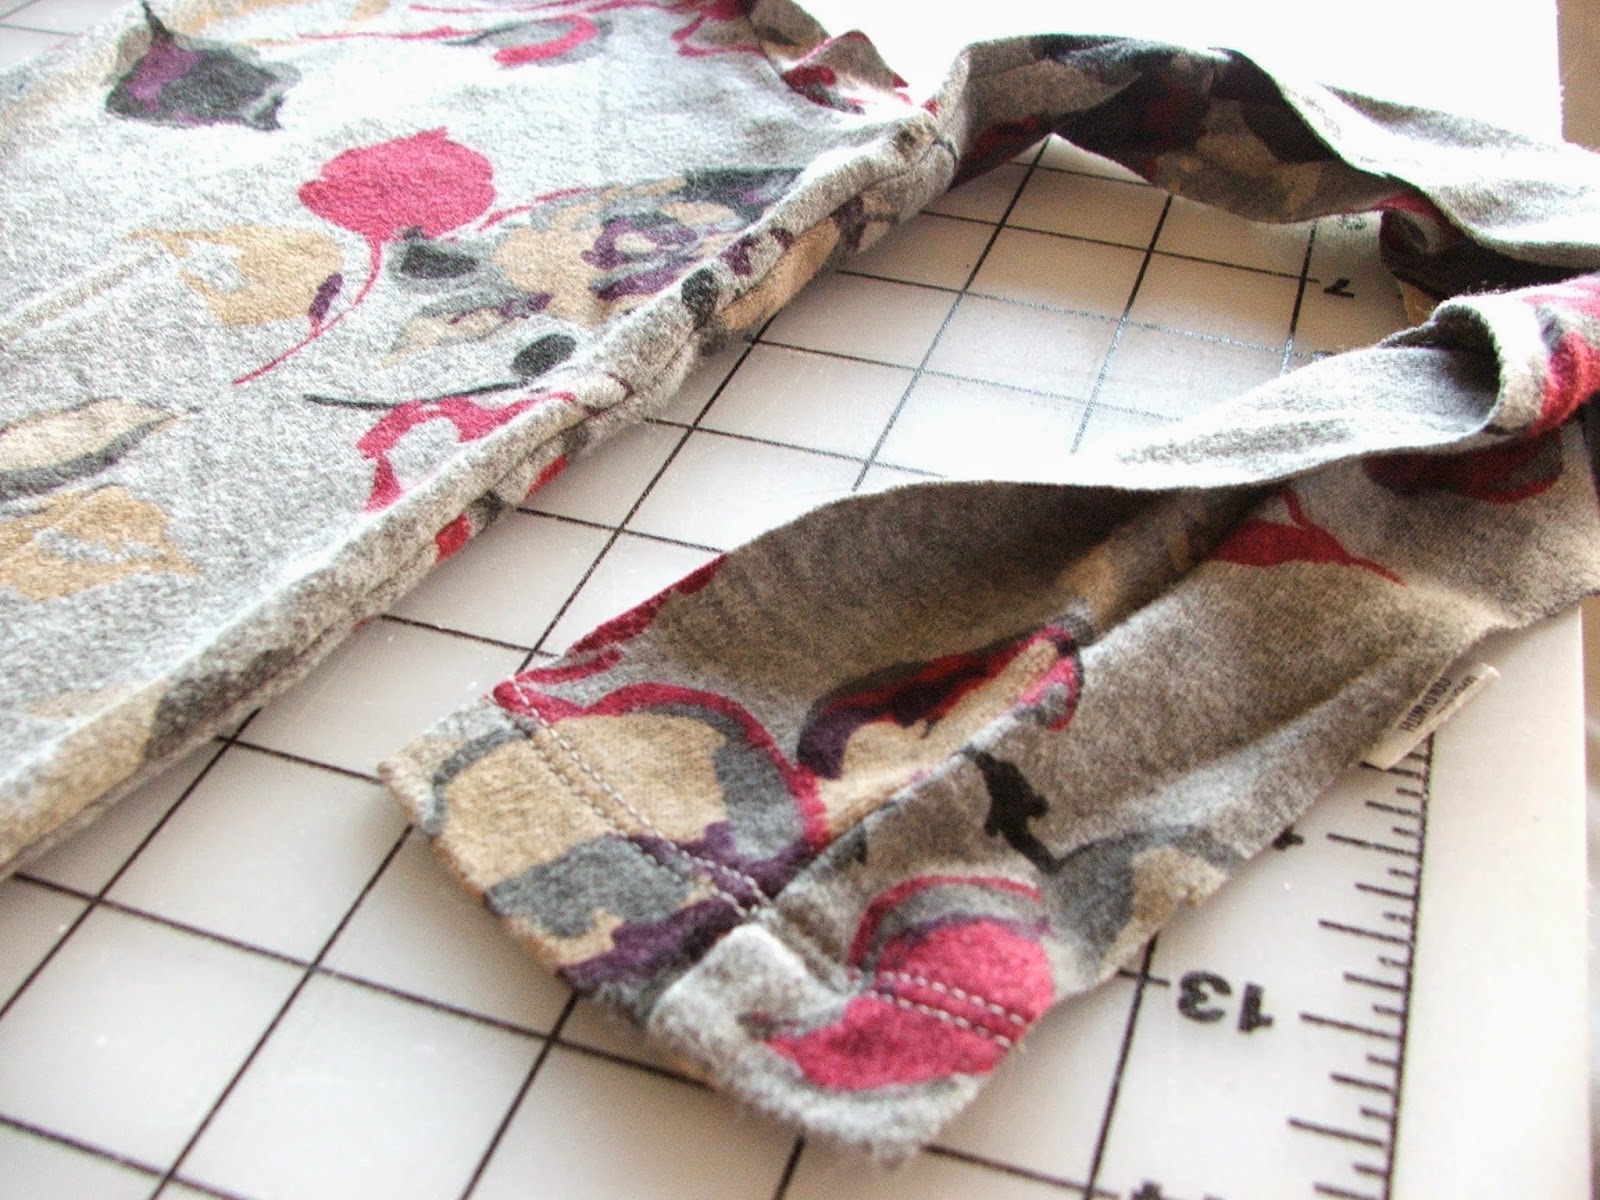
| Here was what was left after cutting the side seams from the front & back, and the sleeve cap area. |
 |
| This dangling part was just about all that went unused - so now I don't have anywhere near the waste I would have, had I purchased fabric to cut this pattern from. Not bad. |
 |
| Cutting the sleeve cap to match the cut armscye of the bodice. |
Not too sure about this bringing on a serene melancholy, but it definitely fit the spiritual longing part. It may not last, it was definitely not finished in it's original state, and it certainly isn't perfect. But because I don't want to take myself so seriously anymore (I have to create a garment from scratch! I have to do everything, from start to finish! And it has to be perfectly sewn!), it fulfilled a need to have a result that feels true and creative, and better reflects the philosophy of wabi sabi.


Eileen,
ReplyDeleteYou are so talented. I am always amazed at the things you create.
Finding the magic personal style is something that bugs a lot of us ~ love the top redo, you have a great eye for seeing the potential in garments ... J
ReplyDelete