Showing posts with label Upcycled clothing. Show all posts

Sunday, April 12, 2015

A Lovely Remembrance

I wanted so badly to post this sooner, but since this was a surprise that the client wanted to give as Christmas gifts, I couldn't until after the holidays had subsided.  Figured Super Bowl Sunday was far enough out...then Valentine's Day...then St. Patrick's Day...then Easter...

This client was referred to me via a mutual friend.  His mother had passed away about a year ago, and the family was understandably having a difficult time.  The grief counselor suggested having something made from some articles of her clothing, and commented that a bear was usually a good choice as it could be hugged as needed.  My client showed up with 6 beautiful Gund bears and a bag full of his mom's clothing in tow, in colors she had loved wearing (and pieces that held some sentiment for his dad, his siblings, and himself).

Clothing, and trimming, and bears - Oh, My!

I had to think about this for awhile, since I'm not a master pattern maker by any stretch of the imagination.  Suddenly it hit me - I have several books filled with baby patterns that I've bought over the years, and with a little tweaking, they might just fit these bears.
LIGHT BULB MOMENT!
I started off small.  I used one of the Henley t-shirts my client brought for me, looked around Pinterest for a few ideas on bear clothes (where there is a decided plethora of frilly & silly bear clothing - and a metric TONNE of Build-A-Bear garments that leave a lot to be desired); I decided to cut the shirt down to size and draft a pattern from it. Most of the patterns I found on the internet didn't account for any kind of body shaping (especially in the neck/shoulder areas).  Shaping for a bear is hard - that meant a t-shirt had to fit over a big head and around a thick neck, which leaves little room for a shoulder area, which is proportionately smaller.  It took a little finessing, but I was pretty happy with the results.  The simple elastic waist pants took a bit of fudging, too - thankfully, baby patterns do take a padded bum into account!  Don't get me started on the big bear feet, though...

After completion, I sent this pic in a text message to the client that read:
"In the beginning, there was a t-shirt.  And the t-shirt fit.  And it was good."

He loved it.

One of the blouses, cut as close to the original seams as I could get, in order
to save as much usable fabric as possible.

Matching blouse fabric with t-shirt fabric I culled from my
remnant bins.  I buy these when I see them at my local fabric store -
they are usually less than a yard apiece, but you'd be surprised how
handy they are to have sometimes.

Matching up tops and bottoms, deciding which ones would be
more girly and which ones would be more boyish.  Some turned out
to be in-between-y.

I should totally trademark that last word.
I had so much fun planning, matching, and making these, that I couldn't help but continue the party over to the photo shoot.

I had so much fun, I ended up stripping the threads on my camera's tripod connector.  OY.


Two of my favorites - especially the salmon colored one.
("PSST - I've got a secret to tell you!")

This was made extra special by taking advantage of the pocket placement on the front of
the original blouse, which then became the back pockets on this pair of overalls.

Okay, I'm beginning to sense a pattern, here.

(GROAN)

You can't tell that this is my favorite of the group.

Not.  At.  All.

("...99, 100!   Ready or not, here I come!")
Of course, then the ridiculous fashion photographer wannabe in me took over...had to make sure I got their good side, you know.

Sigh.  Still my favorite.  

Mr. Casual

His close-up.
Then, the prop-master in me got all fired up again.

I wuv my kitteh.

Hands down the hardest outfit of all - lots of detail work, but
it was totally worth it.
Believe it or not, this is a straw hat we found at some dollar store, and
it's been sitting on top of a glass frog lamp my husband bought me years ago
as a gift.

The frog didn't seem to mind lending it out.

TINY POCKETSES!

Another Henley and pants combo.
This one reminded me of my own mom for some reason.

And here we are, back to the starting point again.  

The Henley crew.

Family portrait.  

I ended up sending all of these photos to the client.  In addition to presenting a bear to each of his siblings, his father, and himself, he made a little documentary about the bear project which included photos of the clothes, the bears, the presentation, and pictures of each recipient with his or her bear.  In the photos he took of his siblings and his dad holding the bears, you can see some of the photos of his mom in the background - and in one or two, she was photographed wearing some of these garments in life.

One of the most poignant and rewarding projects I've ever been asked to help with.


Thursday, June 26, 2014

Why Can't I Be Different From Everyone Else?

Cruising through my reading list this evening, after almost a week of being unable to access it (thanks, Blogger), I came upon two posts that were written by two sewing bloggers.  One I've admired for a long time (Sarai from Coletterie, and one I've just recently discovered (Jody Pearl from Sew Outside The Lines).  Both of them touched on things I've been mulling over myself in the last year while on hiatus from writing my own blog.  Primarily, the questions/considerations center around 1) why do I sew? and 2) what is my focus, or what should it be?

Sarai recently did a series on her blog about streamlining your wardrobe by considering what your style is, or what you would LIKE it to be, and outlined steps you can take to get there.  From the comments she got during and after the series, it sounded like a lot of us are floundering when it comes to our personal style, so I'm no exception.  But I end up sewing so little for myself because I have had to take in so much sewing for others, just to help make ends meet.  So, I end up lurking around local thrift shops, scouring for duds that I can spruce up, remake, refashion, tailor, or use for parts & fabric.  And those pile up around me also, since I'm pretty tired by the end of my sewing day (4 hours most days, six if I can really push myself - check out the National Fibromyalgia Association website for details about why - it's too much to explain here).  It's not that I ever run out of ideas - anyone who's haunted my Pinterest board about refashioning knows that, LOL - I just run out of steam.  What little steam I have, I have to devote to the sewing that brings in income.  Sigh.

I love helping out by taking in sewing, but I've given some really serious thought to backing off from that, because I miss - I REALLY miss - sewing for the creative outlet that it brings, whether that's sewing from scratch, or remaking something to make it my own (refashioning).  I believe in reusing and repurposing things, and have done that for years.  What I didn't realize is that those concepts are part of a broader philosophical notion known as wabi sabi.  My favorite quotes from Wikipedia about it:  "If an object or expression can bring about, within us, a sense of serene melancholy and a spiritual longing, then that object could be said to be wabi-sabi."  (Juniper, Andrew, 2003.  Wabi Sabi:  The Japanese Art of Impermanence.)  And, "Wabi-sabi nurtures all that is authentic by acknowledging three simple realitites:  nothing lasts, nothing is finished, and nothing is perfect."  (Powell, Richard, 2004.  Wabi Sabi Simple.)  

Those last three notions really sang to me.  Nothing lasts.  Nothing is finished.  And nothing is perfect.  Really sums up both why I love to sew for myself or create something of my own to offer the rest of the world, and why I love refashioning.  And why I'd love to pursue both of those as an expression of myself (and hopefully, result in unique goods and/or clothing that others would be keen to purchase).

Sarai had a checklist on her post, offered as thinking prompts, that I have copied and put above my desk to help me pursue exactly WHAT I want to be saying, both to myself and to the world:
  • Who am I?
  • What am I like?
  • How do I want others to see me?
  • How can I express myself in a way that feels true and creative?
  • Why can't I be different from everyone else?
  • Why do I have to take myself so seriously?
I will be devoting some serious thinking time to pursue what my goals are for developing my personal style and the style I would like to present to others.  In the meantime, I stole some time out of my work schedule to remake a top from the Assistance League (the AL).

Here's to being different from everyone else!  :)

I started with an XL knit top  (on my larger dress form) that I snagged when the AL was having their 50% off sale.  Beautiful fabric, and I loved the colors. I try to look for things that have enough fabric or working room in them to remake.  If I can't fit a pattern into the top as it is, often I will cut it up to use in a color blocked shirt. The other thing to keep in mind when you go thrift-store-hopping:  check the condition of the garment very carefully.  Make sure there is no pilling, stretched out areas, discoloration, fading, stains, or holes.  Unless you either want to incorporate that into your look, or you know you can cut around it or over dye it.
 Check out the Reigning Queen of Over Dyeing.
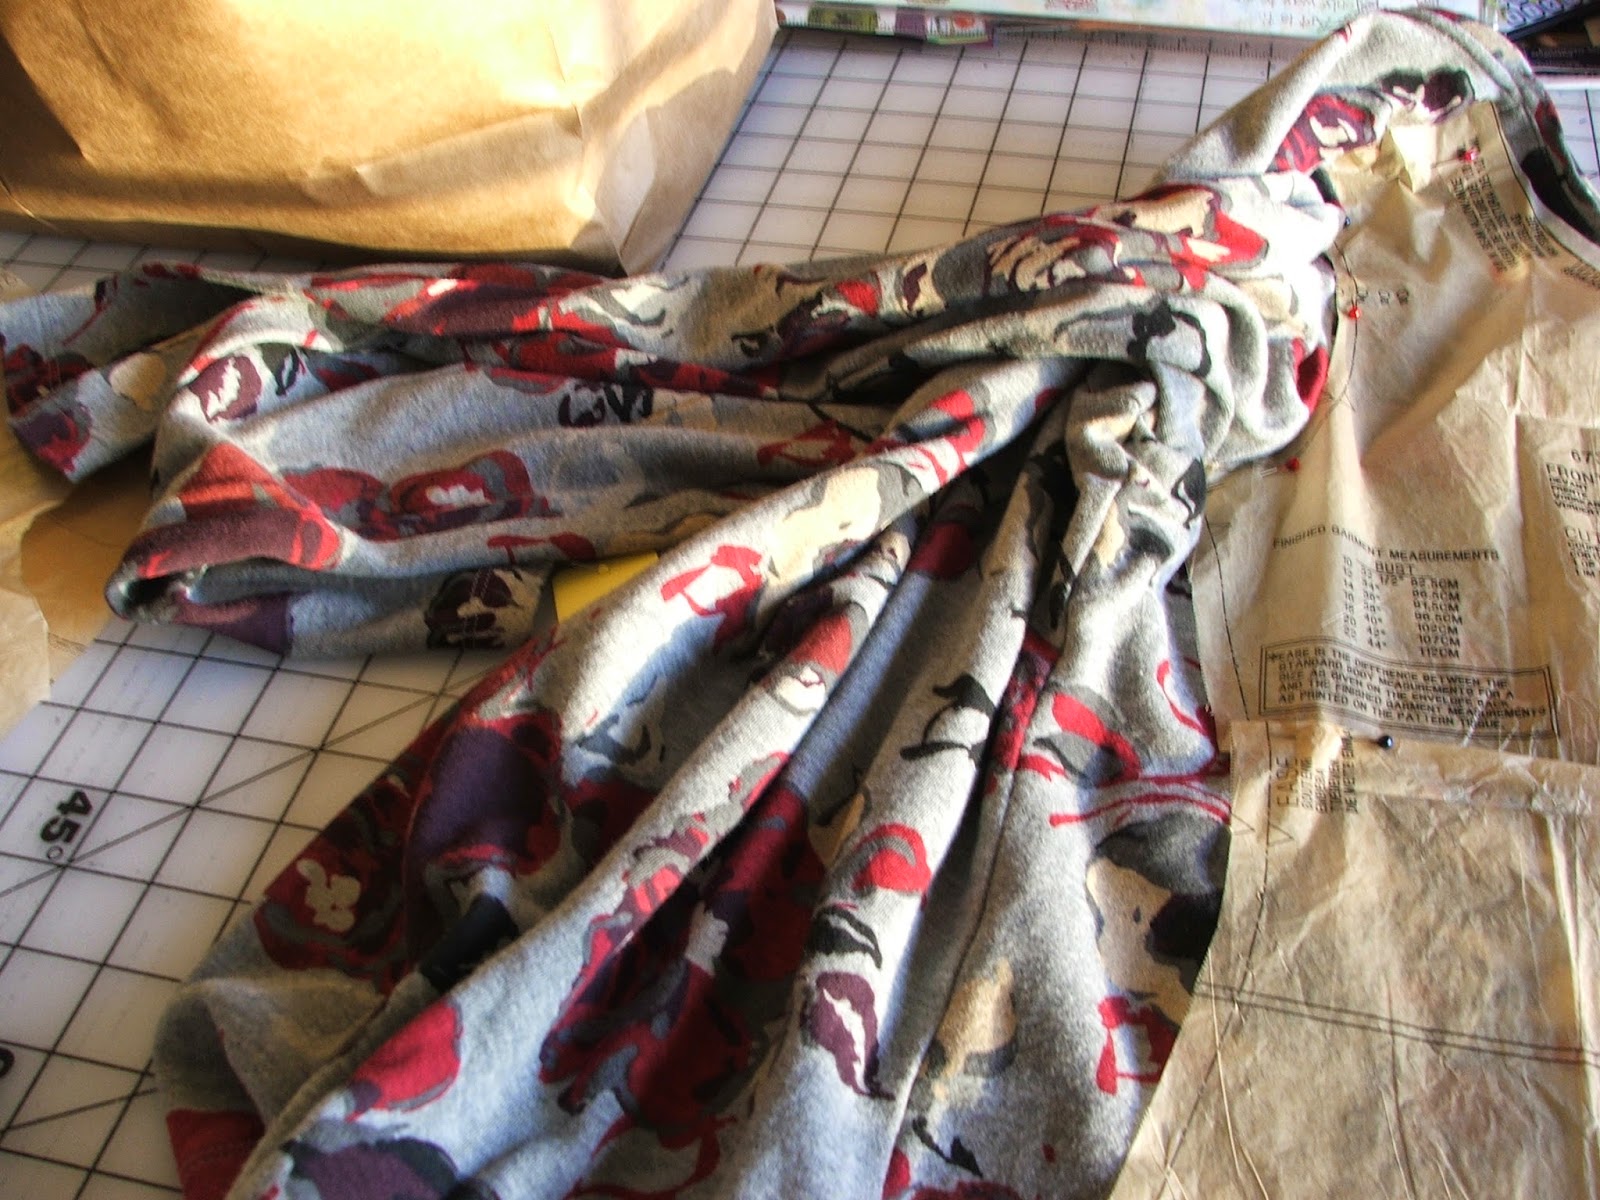
I've folded the top in half at the center front, matching side seams, and now
I've pinned the pattern I'm using to the top, placing the pattern on the center fold and matching the armhole area as much as possible.  When you decide to use a pattern for
your refashion, you need to audition it a bit on the garment, deciding how best to use the existing garment's seams, hems, neckline finish, etc, keeping your finished garment idea in mind.
Sometimes the garment itself dictates what you can do with it.
It's okay.  There are no refashioning police.

Here's a closeup of the pattern up around the neck area.  My shoulders were still
joined, so I have pinned it beyond the seam approximately the distance of the seam width (5/8"), placing it from the center front fold, and not worrying about the neckline - I'm going to leave that as is.


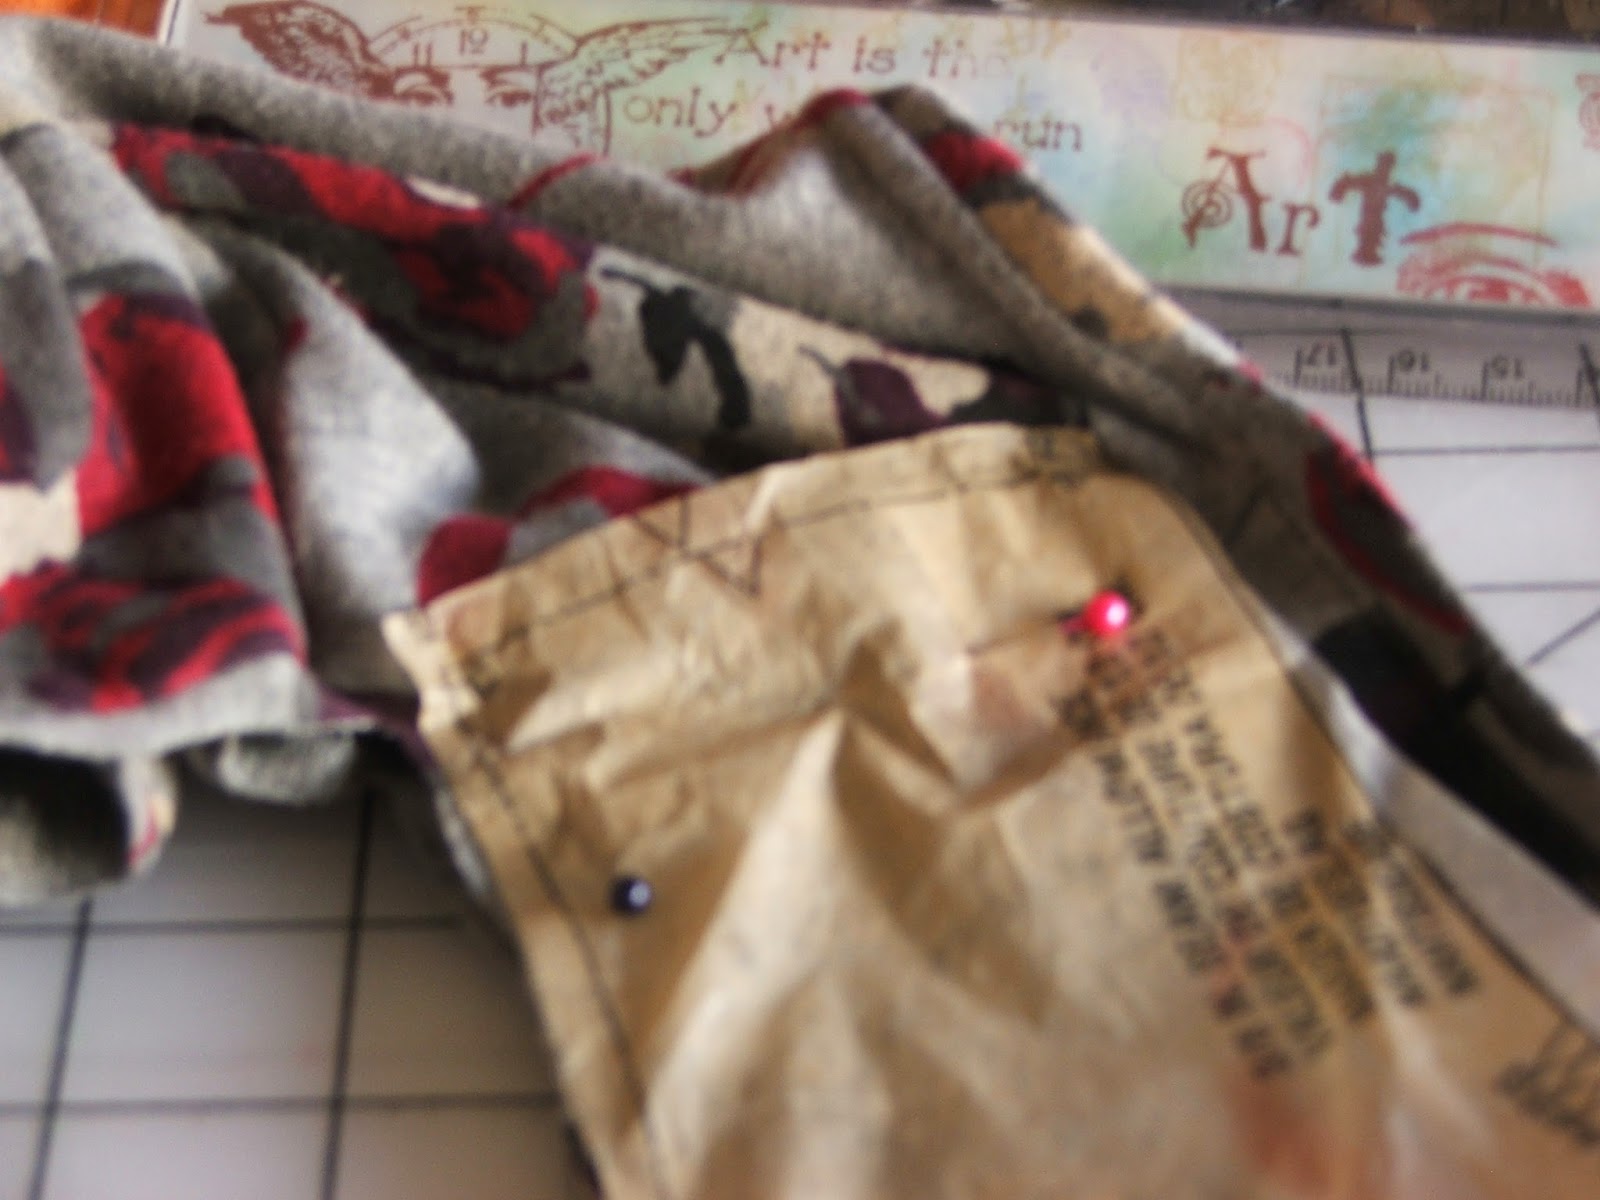
Here is a very blurry closeup of the shoulder/neckline area. I've already cut around the new armhole, being careful not to cut into the sleeve or the sleeve seam allowance. It just barely fit into that area, amazingly. 

Cutting up the sides - I was able to trim out about 4 to 4.5" of excess fabric on each side.  I like this pattern because it is shaped on the sides, where some are just straight up and down from the bust line to the hem.  You can see that the armscye just fits around the existing sleeve curve, right at the seamline.  
And...nothing is perfect.  (Remember my new mantra?)  Here's where you can make an executive decision.  Mine was to use the existing hem, so I didn't worry too much about where to place the lower edge of the pattern.  I was aiming to keep the upper neck/shoulder area as intact as possible instead. 

Now that the front was cut, I folded the back in half, matching the shoulders and the side seams.  Again, I pinned the shoulder of the pattern 5/8" beyond the top's shoulder seam, since I wouldn't be needing the seam allowance, and placed the center back line on the fold of the garment.

Ah.  Here is a better closeup photo - you can see the shoulder edge of the pattern pinned beyond the existing seam.  I continued cutting the sides and the sleeves, leaving me with a front/back which was already finished at the neckline and the lower hems.  All I have to do now I cut the sleeves, set them back in, and finish up.


See?  It's like magic.  Now I won't have to do so much work to have an all new shirt.
Here was what was left after cutting the side seams from the front & back, and the sleeve cap area.  


This dangling part was just about all that went unused - so now I don't have anywhere near the waste I would have, had I purchased fabric to cut this pattern from.   Not bad. 
I had to determine what I needed to use from my pattern, and how it fit into the existing sleeve.  I cut the armhole of the bodice out using the pattern, so I should cut the sleeve cap from the same pattern so they fit together.  If I tried to use the existing sleeve cap as is, you can see there would have been a real fitting issue.


Cutting the sleeve cap to match the cut
armscye of the bodice.
Still had plenty of room left at the
lower edge of the sleeve, and the
pattern length was a bit short,
as it's meant to be a 3/4 sleeve.
 So I used the existing hem and that
left it a wrist-length sleeve.
I know, I know.  I'm a petite person
living in an average-sized pattern world.

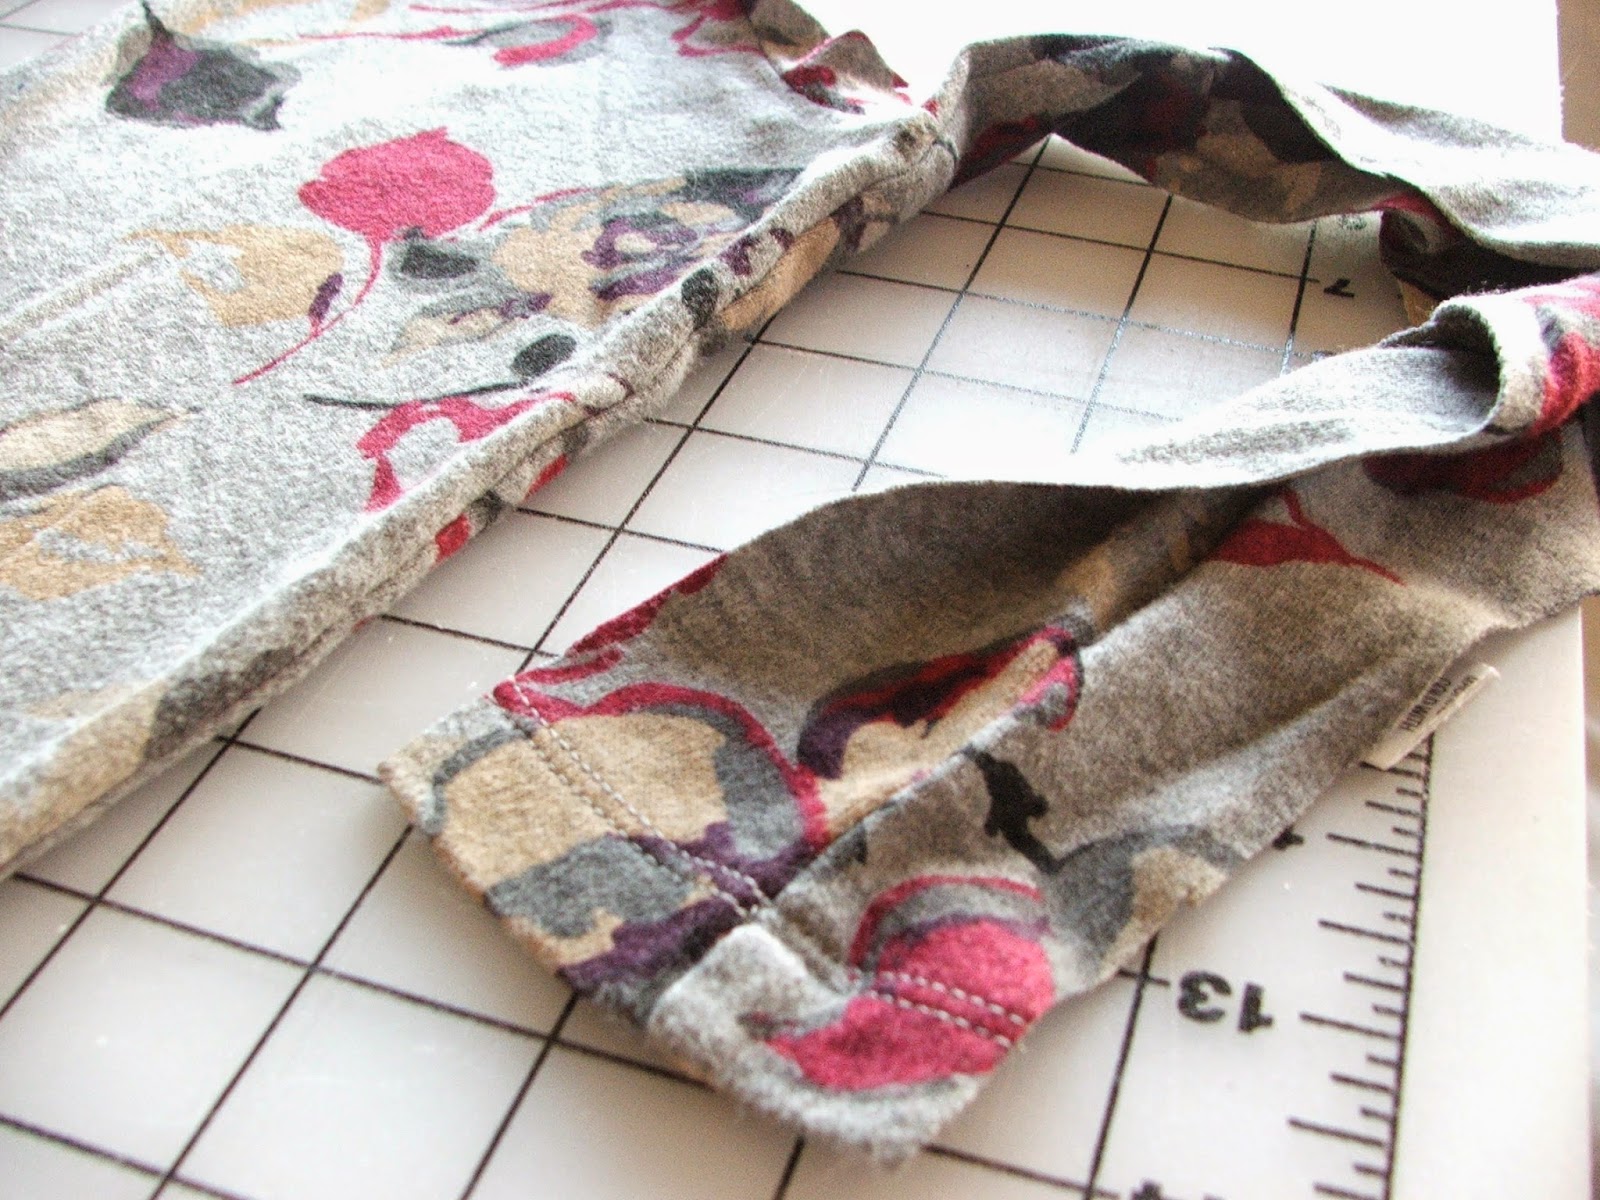
I didn't take a photo of attaching the sleeve cap to the bodice, but after I serged them, there was a jog between the sleeve cap and the armscye in the upper bodice area on each sleeve.  That was due to having to pivot the pattern just slightly to get it to fit into the shoulder & neckline area.  I opted to serge along the sleeve (in the upper part of the picture) and then taper from that jog toward the side seam allowance (in the lower part of the photo), cutting off a small triangle.  I may have lost a bit of width in the upper bodice, but since the fabric is knit it wasn't as critical.

BEFORE                                                   AFTER
And here you have it - a shirt that looks brand new, with lovely commercially finished hems and neckline, but tapered and fit to my measurements.  Alternately, I could have just taken the top in all the way from the sleeve hem down the side to the lower bodice hem, but when you do that the shoulder seam ends up falling off the shoulder into the upper bicep area.  Not too flattering - and in a light colored shirt like this, really obvious.


Not too sure about this bringing on a serene melancholy, but it definitely fit the spiritual longing part.  It may not last, it was definitely not finished in it's original state, and it certainly isn't perfect.  But because I don't want to take myself so seriously anymore (I have to create a garment from scratch!  I have to do everything, from start to finish!  And it has to be perfectly sewn!), it fulfilled a need to have a result that feels true and creative, and better reflects the philosophy of wabi sabi.   

Sunday, March 4, 2012

Going Polka Dotty

At long last - I'm able to post the most amazing refashion!  I've been teaching Son #1's girlfriend how to sew, but I certainly don't have to teach her how to think or be creative - she has such a wealth of fresh ideas and can see so much potential in the most common garment - and even though her sewing skills are still in development, she has no fear of reaching her goal.  Such an awesome student to have!

We went to the Assistance League, where I have been getting most of my garments to refashion myself - she was so intrigued with all the bits and pieces I've brought home, that she requested that I take her on a trip to see the place for herself.  It was so worth it when she spotted this maternity skirt - her eyes just lit up and I could almost hear the gears turning!

Silly me, I didn't take a photo of the skirt all in one piece (she was so eager to get started, I swear as soon as we hit the house the scissors started flying) but here it is right before it got really chopped up:

She wanted the skirt of the dress to retain that cute flippy look ,
with the underskirt intact.  We sewed the bottom part together
where we cut it from the original skirt so that the layers
wouldn't shift.  In theory.

She had a design in mind and brought over a dress that she had borrowed from a friend of hers that fit pretty well and she liked a lot.  From there, we found a similar bodice pattern in my Lutterloh collection, took her measurements, and drafted a fitted bodice pattern:


We then made a muslin from this pattern, tried it on her, and I pinned and adjusted it for fit (not photographed).  From there, we cut the outer pieces and the lining pieces from what was left of the top part of the maternity skirt.  Yes, she lined it.  Lining a dress (or jacket, or what have you) used to scare the bejeezus out of me, until I started sewing the maternity dresses for Jules Ford just this past year.  Yet she tackled it without hesitation, only asking me how to get from point A to point B, and soldiering through it all.  Such bravery!

She learned a lot in the process (and quite possibly some choice swear words from me, as those darn skirt layers kept shifting, and shifting, and shifting.....): how to draft a pattern of sorts, how to make a muslin and adjust it, how to line a dress with a fitted bodice, how to insert a zipper, how to gather the skirt, and some of the hand-finishing techniques used on a lined dress.  Just blows my mind; at that age, I think I was still getting over making a mediocre C- on the simplest A-line Home Ec skirt project ever.  That experience almost made me give up sewing forever.

All of this was accomplished over the course of about three weeks, with the last of the hand-finishing done this afternoon.  She could only work on it in spurts on the weekends, because she carries quite a full load at school.  But it was oh, so worth it:

Mission accomplished!
Nothing quite like the satisfaction that comes from wearing something
you created, from the design idea through to the finished garment.
This bodice fits her perfectly, and we can use the adjusted muslin to
work on future projects.  Bonus!

Tried to get a better shot of the bodice - but my camera just hated
focusing on that black and white fabric.  I think her smile was
more important, anyway.

Another view - we tried so hard to keep
the flirtiness of the underskirt/overskirt, but that
top layer of sheer chiffon-type fabric almost
drove us nuts.  But she persevered!
Polka Dotty!


(These four photos were taken by Son # 1)


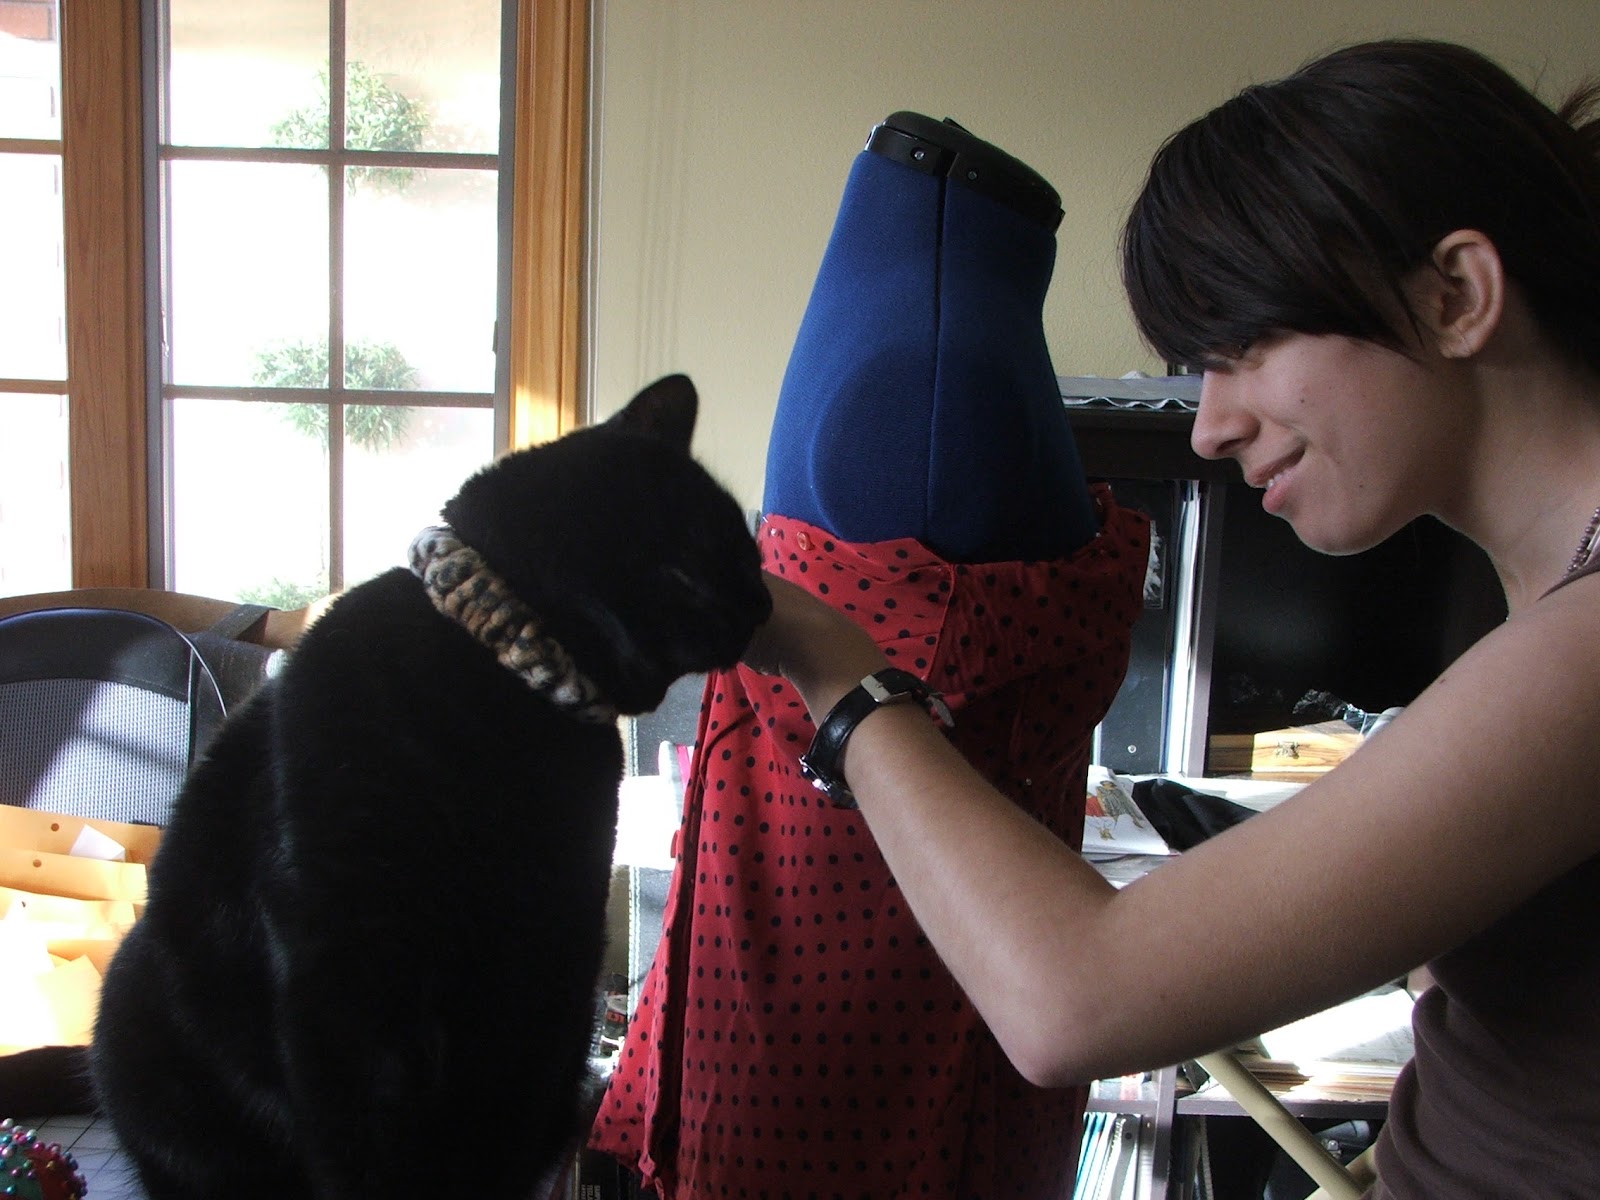
And yes, for those of you wondering whether the Sewing Assistant had a hand paw in things, I can assure you he did.  Here he is, consulting with her about her next refashion:

"Now about this seam, here....this is what I think you should do...."

....and consulting with me, over camera settings and such:

"Here.  Let me help with those buttons....or maybe that dangling lens cap...."


Friday, February 17, 2012

Absence makes the blog go flounder

LOL!  Not the best title in the whole world, but I'm pressed for time while altering about 20 percussion ensemble uniforms for tomorrow's competition, cooking for 50 (for the same comp), experimenting with meatless taco filling for the vegetarians in the ensemble (and the instructors - here's hoping it's not an epic fail!), trying to fill orders for a couple of regular clients and juggling smaller jobs that have started coming in again....

Not sleeping much these days!

Somewhere in the middle of all of this, I helped my son's girlfriend work on a spectacular refashion.  I'd love to post photos, but she took the dress (made from a maternity skirt) home to complete so we don't have pictures yet of the finished garment.  Soon, I promise.  Soon.

I also got a bee in my bonnet about my purse - I made one a couple of months ago, and found that even though I loved it, it was too cavernous for my taste - I just couldn't find anything in it.  So I decided to start recycling some jeans that a really good friend donated to the cause, and using a Vogue pattern, this is what I came up with:

This is the front panel, with an external zippered pocket.
The fabric was a freebie from Dorell Fabrics in Fountain Valley-
they sell upholstery material but sometimes they have
bits and pieces that are just too small to do much with -
you can take one free sample every time you go into the shop. 

The inside of the front pocket.  It's lined with another
recycled garment, a blouse that a friend didn't wear anymore.

The inside of the purse, with a couple more open pockets.
Nothing moves in here when it's zipped shut, and it's not so
deep that I can't see things when I'm looking for them.
Bonus!

My favorite part of the pattern - a side zip pocket.
You can put one on either side of the purse but I opted to
put only one in this time - I only had one zipper of this
length and color.  Next time I will line this particular
pocket (and the matching one on the other side, should
I put one in) with a fabric that matches the outer
fabric - the way the zipper is put in, you can just see the lining
around the perimeter of the zipper.  Bummer.  But this one's
not for sale, anyway, so lesson learned.  

Nicely reinforced shoulder strap (while not being too stiff); bag is stablized with fusible fleece so it is still a bit slouchy but doesn't slump; lots of pocketses for everything to have its own place (with a nod to Lord of the Rings); overall a fairly easy pattern to work with.  This may become my favorite bag pattern.  And I have three boxes of jeans to go through....each pair renders one complete handbag using this pattern (Vogue V8661).  I've already had two requests to make more, with fabric for the front panel that has special meaning for the recipients.  A nice way to refashion jeans and to keep a treasured swatch of fabric close at hand!

Of course, the Sewing Assistant remains hard at work, inspecting each incoming order, large or small.  

Or comfy, regardless of size.

Quality Control Expert, hard at work.


In other crafty news, it appears that my sons have been bitten by the craft bug.  Picture any other 20 year old young man, dressed head to toe in black (and variations of black), rides motorcycles, studying to become a machinist and loving every minute of being able to work with his hands, up to his elbows in some kind of engine fluid or other, surrounded by motorcycle bits and parts.

Now picture that young man making something as cool as this to give his girlfriend for Valentines Day (and reserving a single bloom for his dear ol' mum):


These are coffee filters, folks.  Watercolored by hand, hand cut, hand crafted with floral tape, and accented with extra recycled leaves cut from silk roses from one of my projects long ago - my wedding bouquet!  He presented them in a recycled tin from the Pirouline type cookies.  

Dude's got good genes, both the refashioning and the crafty kind.

If you look very carefully at that first photo, you can see the man as a little boy in the photo in the bottom right corner - he's the one dressed in red.  :)